Showing posts with label Kitchen. Show all posts

March 14, 2011

Paint Reveal

Last time I told you all about the process of choosing new paint colors for our upstairs. We decided to incorporate three colors by Benjamin Moore into our entryway, living room, kitchen, hallway, and bathroom - basically the whole upstairs with the exception of the kids' rooms. After lots of thought, we took the plunge with Grant Beige, Berkshire Beige, and Texas Leather.

Grant Beige by Benjamin Moore

Berkshire Beige by Benjamin Moore

Texas Leather by Benjamin Moore
 
So how did we decide to lay the colors out? Our entryway got a total makeover {more on that later}, starting with the medium brown shade of Berkshire Beige. One special spot in our entryway was reserved for the rich brown Texas Leather, and the outcome was so awesome that I love coming in the front door! The largest space, the living room and hallway, was treated to the light and neutral Grant Beige. It's a perfect pairing for our sage green couches and white trim. We painted the partition wall between the living room and kitchen with Berkshire Beige to make it a bit more of a focal point to the eye as you walk up the stairs. The kitchen received an update with Texas Leather, and we painted the bathroom Berkshire Beige to set it slightly apart from the Grant Beige in the hallway. Here are the results:

Living Room Before:


 Living Room After:

The partition in Berkshire Beige.
I'm still accessorizing the bookcase; ignore this look!


Berkshire Beige on the partition wall reads
slightly darker than the Grant Beige on the rest of the walls.


Kitchen Before:


Kitchen After:


Grant Beige is on the walls above the cupboards, and Texas Leather rests on the
walls below. The dark gray-brown of Texas Leather is a perfect companion to the counters.


Louisa will turn one on St. Patrick's Day,
so we're in full party mode around here!

The new colors are so much more soothing and fit the bill for the more sophisticated and neutral look we want for our home.

Dave and I have made lots of changes to every room during Project Paint the Upstairs, including major changes to the bathroom. More of those changes coming your way soon! Have you found the perfect colors for your own home yet?


September 21, 2010

Paint and Repaint

You already read about the fabulous kitchen cupboard makeover here, but I had a secret. As ecstatic as I was with the results of paint on wood, now there was so much white that I yearned for some color - not a lot, just a little. I toyed with the idea of painting some of the kitchen cupboards an actual color - maybe green, maybe a grayish blue, maybe black. I wasn't sure, but that nagging feeling wouldn't go away. I finally bounced the idea off of my husband, who promptly responded with, "No. I like them this way." No biggie. It usually takes him awhile to warm up to one of my projects.

My original thinking was to paint the wood under the counter where the barstools sit. It was a smooth space with a corner for a clear transition from the white to the color. I knew I had enough of our white cupboard color to paint it back if I didn't like it {we used the same color for all of our upstairs trim}, so I looked over my paint collection, picked a coolish green, and went for it.


I lived with it for a few days, didn't love it, and painted it white again. A pain? Not really. It only took about 15 minutes to paint the space white again, and that was totally worth it in case I'd loved it in another color. I love this part: my husband never even noticed I painted it until I pointed it out to him. Not sure what that says about him {or about how often I paint things}, but it couldn't have been all that ugly if he didn't notice it immediately.

So I thought some more {there was still an awful lot of white in the kitchen, after all}, and it dawned on me: the china cupboard! My husband's grandparents owned the house before we did, and his grandfather custom built all of the cupboards. When he finished off the kitchen, he added a built in china cupboard in the corner dining area. And when we painted all of his lovely cupboards, we totally painted the china cupboard, too.

China cupboard untouched {I think she's crying a little in this picture.}
China cupboard painted white
I liked the china cupboard white, but what a perfect piece to add some drama to the room. I looked through my color fan deck of paint colors, selected a country grayish green, and had a quart mixed. After that and two coats, I transformed our china cupboard from the nice girl that no one notices to that foxy lady in the corner.


No more tears for this babe.


I painted the back and side walls and the insides of the doors in addition to the outside of the cupboard. I didn't paint the top, of course. I wasn't going to spend time painting that. If you want to come and inspect the top of my china cupboard, you'll still see the wood in its original condition, but be sure to dust it for me while you're up there.

I think with this transformation, the china cupboard went from being the biggest not to hot in that part of the house. But as they say, if you can't stand the heat, get out of the kitchen. 

August 9, 2010

It's Just Paint

You do know that, right? The world will not end if you paint something and decide it looks hideous. "But what if I don't like the color?" So paint it a different one! Or better yet, buy samples in a few shades you're considering (most home improvement stores offer paint samples for a few bucks in all of their colors) and paint up your walls. Live with the colors for a couple of days. What do they look like in the morning light? Low light? No light at all in the middle of the night when you get up to sneak some ice cream?


Paint is my oxygen. It breathes life into spaces once dead. Oh, the joy of transforming an entire area without spending a fortune! In the six years we've lived in our house, some of our rooms have been painted four times (eek!). My hubby is not a fan of the process. Unlike me, he doesn't look forward to spending hours pouring over Pottery Barn catalogs and Better Homes and Gardens to find inspiration rooms with just the right colors. He doesn't love the smell of paint or yearn for the long hours of actually applying it to the walls. But he loves me, and he usually tapes the trim and paints that really tough part of the wall at the height of our peaked living room.


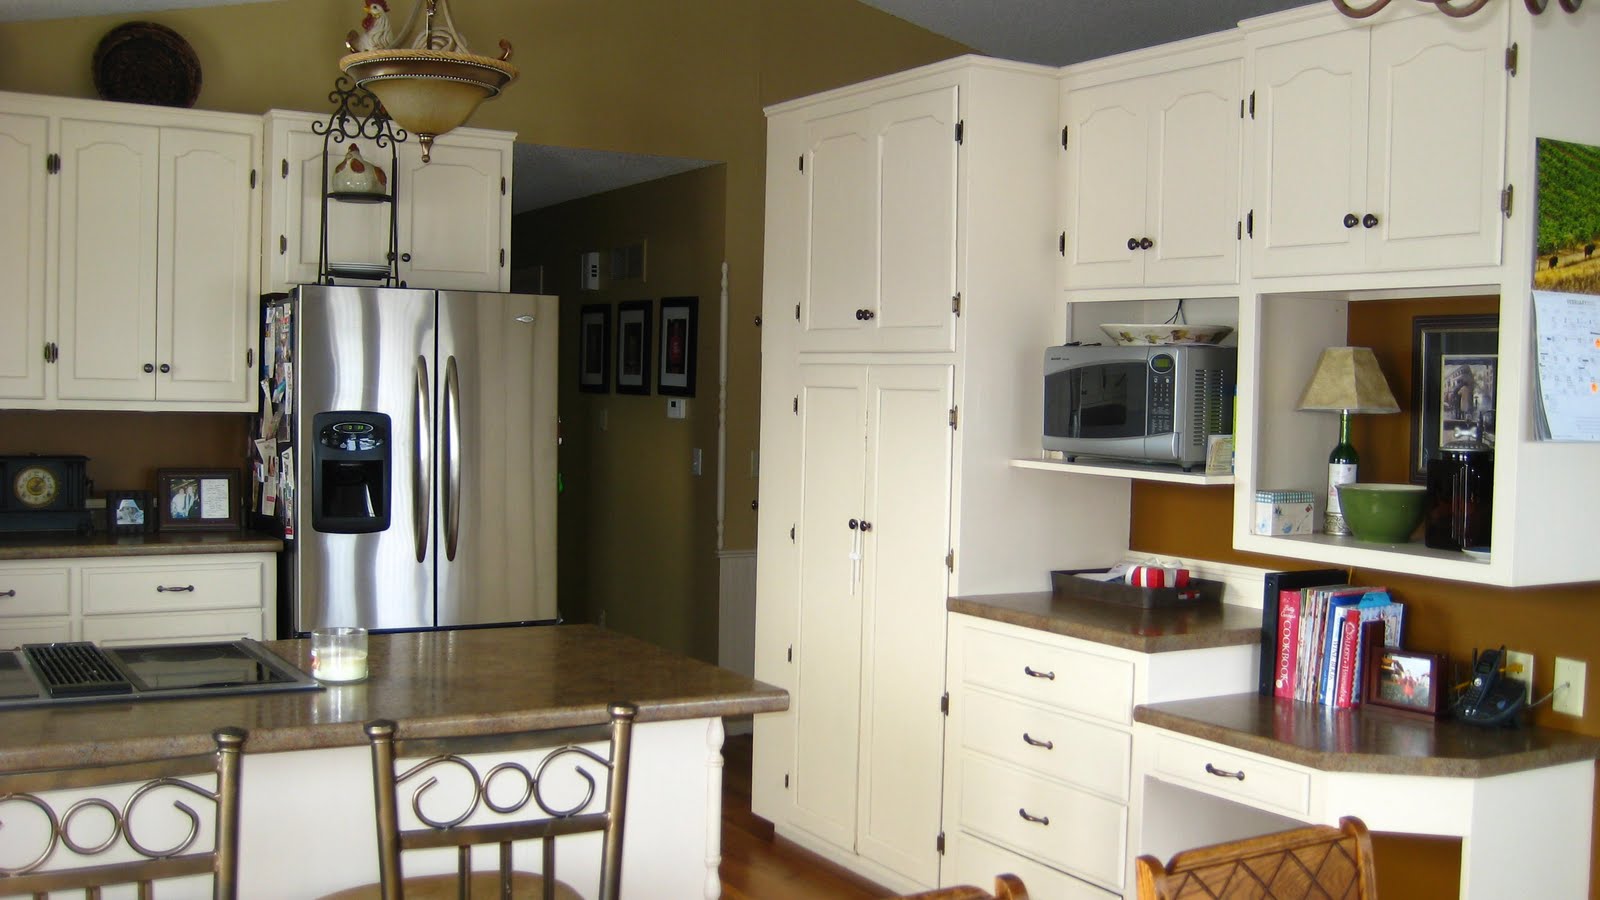
My most favorite makeover in our house remains one of our first: the kitchen. I'll admit, it wasn't just paint. We added new flooring and replaced the countertops and light fixtures, but the best part was the paint. We were the proud owners of some dated oak cabinets. The hubby and I had long been fans of white wood and dreamed of having rich, creamy cabinets to meet our taste. While browsing the kitchen cabinet model section at The Home Depot, I spotted the perfect cabinets and thought, "Could we??" So off to the paint counter we went with a cabinet door sample to do a custom color match. Armed with Kilz Stain Killer and our own recipe of a warm vanilla, we set out to conquer the world.... or at least our kitchen.

Kitchen Before:
Notice the paint can on the counter. The cabinets were about to be rescued!


So much wood crying out to be painted!

See the almond-colored fridge? Even that received a paint job.
But that's a post for another day.

Ta-Da! Kitchen After:


And guess what? It did take an entire weekend to paint our cupboards, but it wasn't all that bad (especially for a paint nut, like me!).


What did we do?
1. The first step in our kitchen cupboard redo was to remove all the cupboard doors and then the hinges and knobs. I wiped all of the wood surfaces to be painted with a damp cloth and laid the doors on the garage floor to make painting them easier. 2. Next, we gave all of the wood a coat of Zinsser stain-killing primer. You want to make sure to use a primer with a stain killer in it to avoid stain seeping through your paint (it's happened to me!). 3. We applied two coats of paint to all the surfaces. 4. After the paint dried, we returned the cabinet doors to their homes and replaced the knobs and drawer pulls with new antique bronze hardware.


Cupboards painted black and updated with silver hardware would really modernize a kitchen space. Here's a look at an amazing transformation with black paint. I'm also fond of green cabinets, but my love put his foot down at that one.

So there you have it. Paint away, my friends.
Related Posts Plugin for WordPress, Blogger...